Adobe Photoshop 7.0 might have been an age ago, but it still is a veritable giant when it comes to functionality for graphic artists, photographers, and digital painters alike. Beginners or pros, learning its tricks and turns can help put you together with great designs. This guide will take you through fundamental editing tips and tricks that help improve your Photoshop 7.0 abilities.
- Know Your Photoshop 7.0
Before applying advanced techniques, consider familiarizing yourself with the Photoshop 7.0 interface. Here are some components worth noting:
Tools Column: Contains essential editing tools such as Brush, Eraser, Lasso, and Magic Wand.
Layers Panel: This is for keeping track of multiple layer management for non-destructive editing.
Menu Bar: File options, filters, and adjustments.
Options Bar: Displays the customization settings for selected tools.
- Basic Editing Tools and Keyboard Shortcuts
Selection Tools:
Lasso Tool (L): Freehand selection of objects.
Magic Wand Tool (W): Select areas with similar colors.
Marquee Tool (M): Makes rectangular or elliptical selections.
Brush and Eraser Tools:
Brush Tool (B): Uses for painting with adjustable opacity and hardness.
Eraser Tool (E): Allows the exact deletion of parts of the image.
Clone Stamp Tool (S): Used for better pouching freckles or for even duplicating parts of an image.
Layer Tricks:
Press Ctrl + J to quickly duplicate a layer.
Press Ctrl + Shift + N to create a new layer.
Ctrl + E merges layers to keep a better listing.
- Image Enhancement Techniques
Brightness and Contrast Adjustments
If you want to fix the general appearance of the image matter:
Go to Image > Adjustments > Brightness/Contrast.
Tweak the sliders to bring out the details.
Using Levels for Better Colors
Go to Image > Adjustments > Levels (Ctrl + L).
Move the black midpoint and white sliders to adjust levels for proper exposure.
Sharpen an Image
Create a duplicate of the image layer (Ctrl + J). Go to Filter > Sharpen > Unsharp Mask and adjust settings for sharpened details.
- Working with Texts and Effects
Add Text to Your Design
Select the Text Tool (T).
Click on the canvas and write your text.
Customize your font, size, and color in the Options Bar.
Adding Drop Shadows and Blending Effects
Select the layer you wish to add a shadow to and go to Layer > Layer Style > Drop Shadow.
Set the opacity, distance, and spread to obtain a realistic-looking shadow effect.
Consider these effects too: Outer Glow, Bevel, and Emboss.
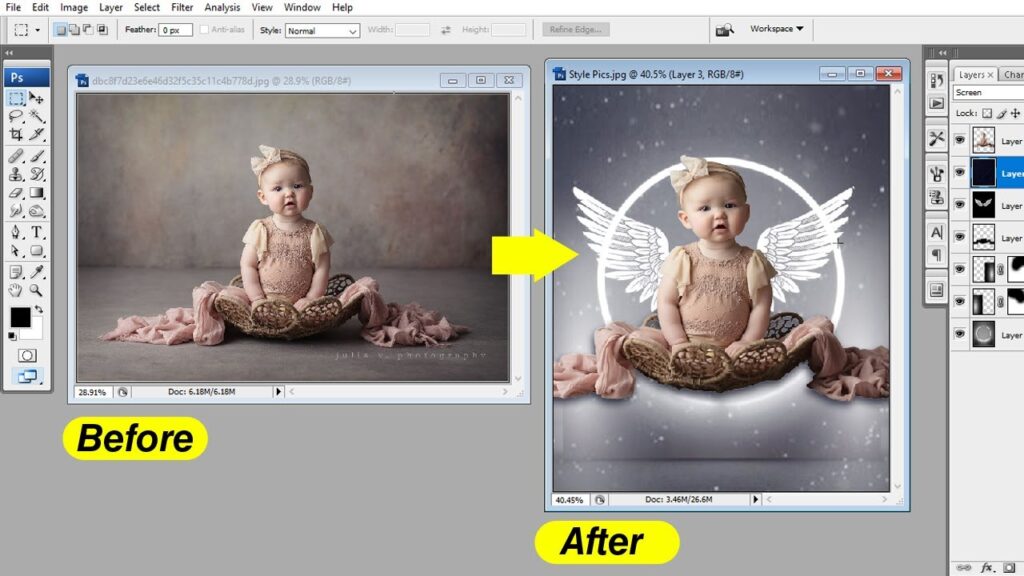
- An Efficient Way to Remove Backgrounds
To remove an undesired background:
Using the Magic Wand Tool (W), select the background.
Hit Delete (layer should be unlocked).
Or go for Eraser Tool (E) or Lasso Tool (L) for further precision.
- Saving and Exporting Images
Remember to save your work correctly after editing:
Save as PSD for future editing with layers.
To export a web-safe JPEG or PNG, go to File > Save As and choose your desired format.
Conclusion
Photoshop 7.0 requires a lot of practice, but these editing tips and tricks can enable you to upgrade your design skills significantly. Try tools, apply varying effects, and streamline your approach to build mega-appeal images. The newest versions of Photoshop are packed with features, but Photoshop 7.0 is still a standard go-to for basic and intermediate edits.
